I had been reading about this topicafter hearing the term used in PCB production "silkscreen" layer. Silk screening is a process used in the industry to print logos or graphics on tshirts, bags, balloons, circuit boards (silkscreen labels), etc (http://en.wikipedia.org/wiki/Silk_screen). Using this method I could create my own tshirts and custom logo clothing, and for dirt cheap!
Anyhow as I said before this is a projects blog not just electronics projects so I thought I would post it here. If you don't want to read that wikipedia article on screen printing I'll explain the basic principle. Basically a fine mesh material is used as a type of stencil. The stencil is created by blocking off the parts of the mesh where you don't want the ink to touch. Wherever you want ink to go (the "open" part of the stencil" you leave unblocked. Now there are many methods to do this including photo emulsion techniques but the technique I used was the good beginner's one explained here:
http://www.instructables.com/id/D.I.Y.-Screen-Printing/
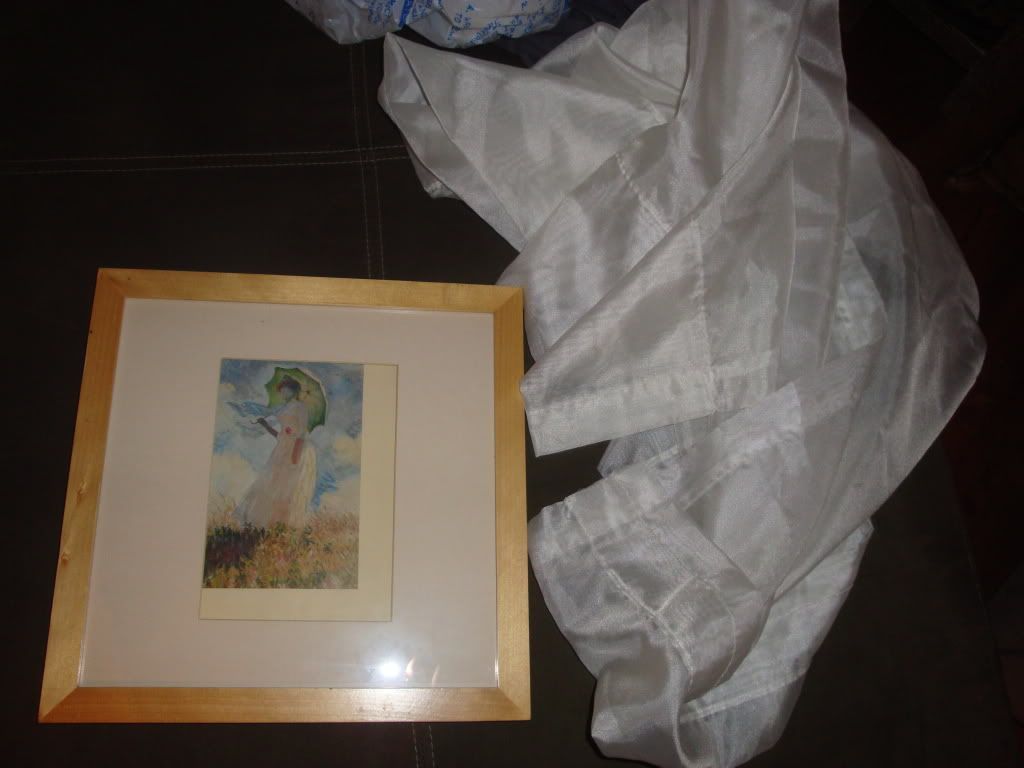
I began by going to the good will, finding a flat front picture frame ($1):
and a meshy silky fabric (curtains) that were like $4.
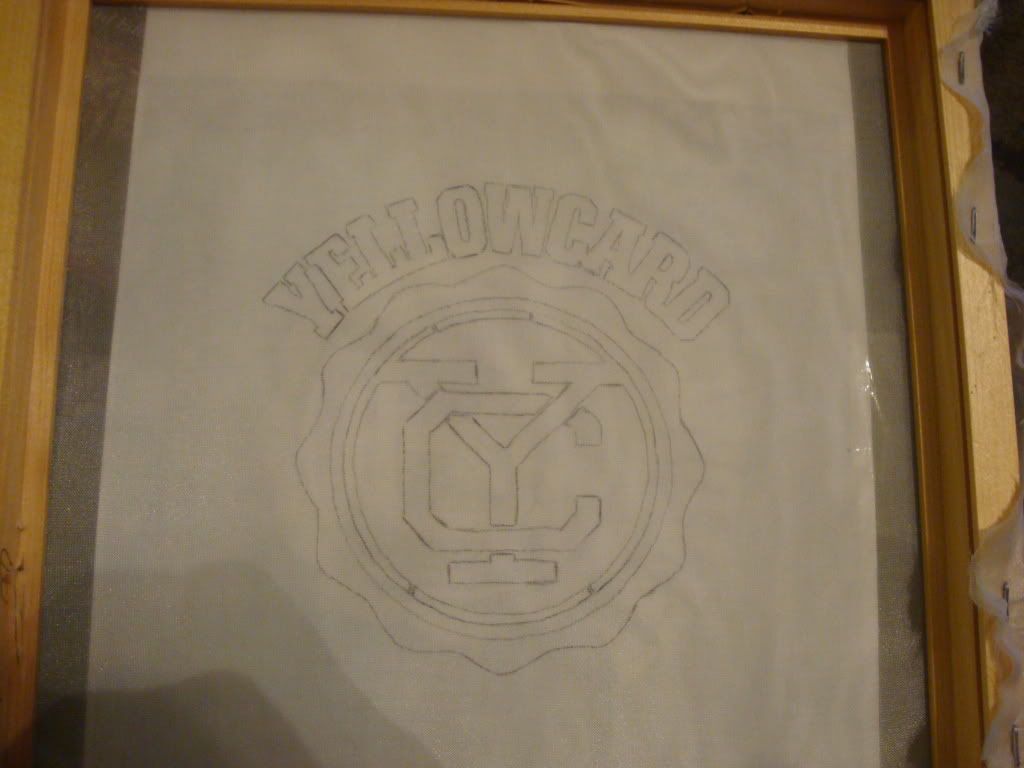
I removed the photo matte and glass and using a staple gun stapled a piece of the fabric tight over the front of the frame like canvas for a painting.
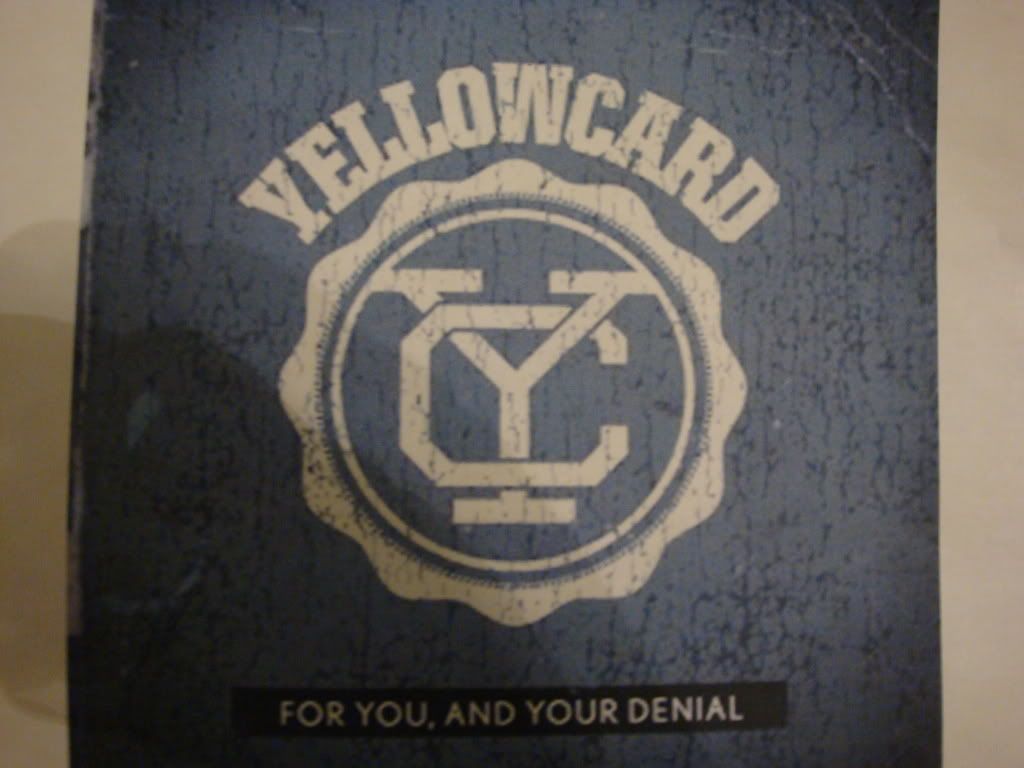
Next I chose my image and used a pencil to trace it onto the "silkscreen."
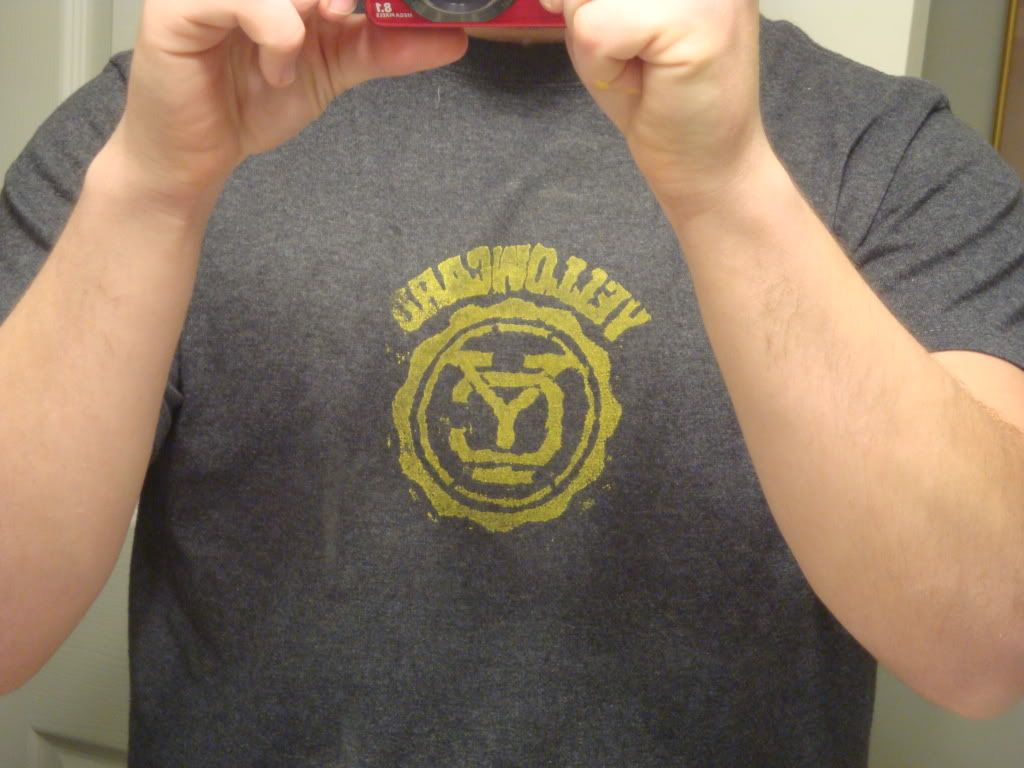
I used yellowcard's new logo for their new album that is about to come out since I don't have any yellowcard shirts and I like them.
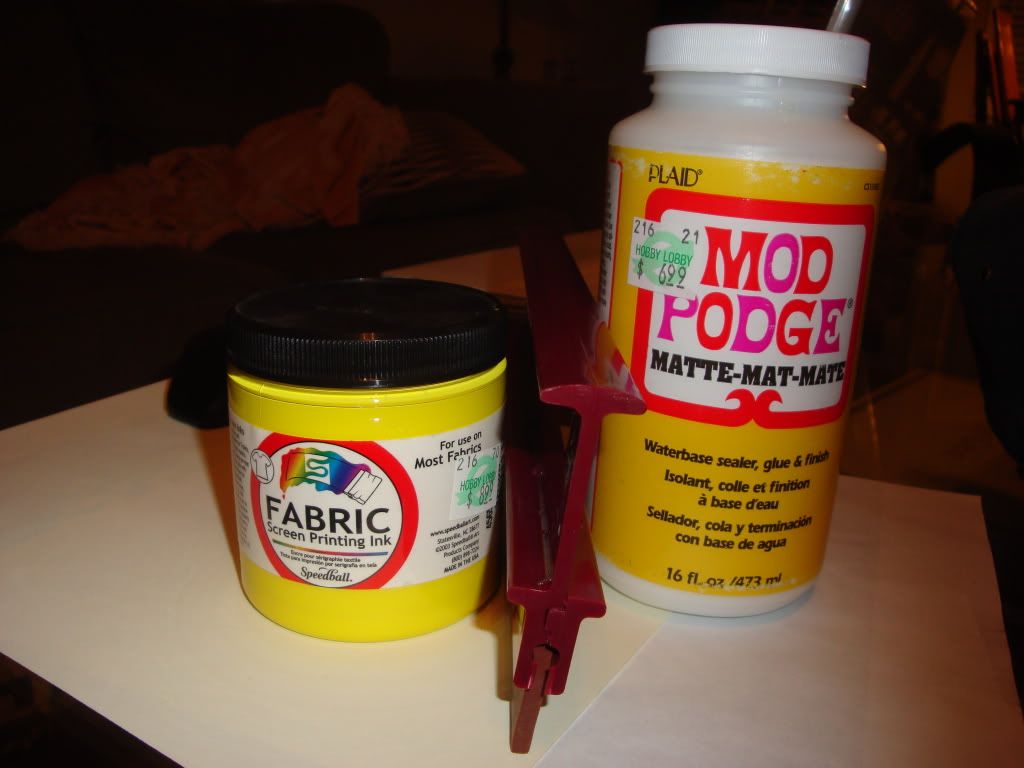
Here's the rest of my supplies. I used a paint bursh to brush the "mod podge" glue stuff onto anywhere I didn't want ink to go through creating a stencil.
After it dried it looked like this:
Now I'm ready to print. I set the stencil on top of my blank t-shirt with cardboard between to keep it from bleeding, spooned a little bit of the yellow dye/paint onto the stencil and using a squeegee ran it across the stencil. After that I removed the stencil and used an iron to warm and dry the ink.
Here is the finished result! Not too shabby! Pretty good for a first try!
Next time I'll try photo emulsion as it is more intricate and usually turns out better.


Good post. I don't know how I ended up here but this looks good. I might consider even painting on test object or a progressively layered stencil to add colour depths. Ideas are endless, I didn't realise it could be done so easily.
ReplyDelete